Reupholstering a rocking chair cushion can give a fresh look to an old piece of furniture, save you money, and provide a satisfying DIY project. Whether your rocking chair cushion has worn out, or you’re simply looking to update the decor, learning how to reupholster a rocking chair cushion is a worthwhile and manageable task.
This guide will walk you through the process, ensuring that you have all the knowledge and skills necessary to breathe new life into your beloved rocking chair.
Reupholstering a rocking chair cushion is not only necessary for maintaining its comfort and functionality, but it also adds aesthetic value to your furniture, making it more inviting and appealing.
The benefits are manifold. Firstly, it allows you to preserve a cherished piece of furniture, extending its lifespan and allowing you to continue enjoying it for years to come.
Secondly, it offers a cost-efficient alternative to purchasing a new chair. Lastly, it grants you the freedom to customize the look of your chair to match your evolving style and home decor.
In essence, reupholstering a rocking chair cushion is a practical, economical, and creative solution to revitalize your old rocking chair.
Materials Needed
To begin the re-upholstering process, you will need the following materials and tools:
- Fabric: Choose a durable and easy-to-clean fabric that matches your decor. Consider the amount of use and wear the rocking chair will get, and choose accordingly.
- Scissors: A sharp pair of fabric scissors for cutting the new fabric to size.
- Staple Gun: A staple gun is needed to secure the new fabric to the cushion.
- Staples: Staples are suitable for your staple gun.
- Sewing Machine: For stitching together any seams or hems.
- Thread: Thread that matches your fabric.
- Tape Measure: To measure the dimensions of your cushion accurately for cutting the fabric to the correct size.
- Seam Ripper: Useful for removing the old fabric from the cushion.
- Screwdriver: To detach the cushion from the chair, if necessary.
- Foam or Batting: If required, replace the old padding inside the cushion.
- Needle-nose Pliers: For removing old staples and nails.
- Marker: To mark measurements on the fabric.
Removing the Old Upholstery

To carefully remove the old fabric from the cushion while keeping the base intact, you’ll need to follow these steps:
Detachment of the Cushion: Start by using a screwdriver to detach the cushion from the rocking chair. Make sure to keep track of any screws or bolts for future reassembly.
Removal of Old Staples or Nails: Use the needle-nose pliers to remove any old staples or nails securing the fabric to the cushion. Be gentle to avoid damaging the base.
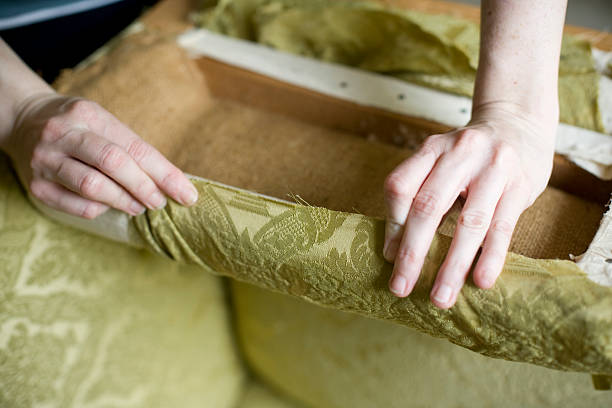
Fabric Removal: Once all the staples or nails are out, use a seam ripper to carefully remove the stitches and pull the fabric away from the cushion. Start at one corner and work your way around, making sure not to tear the fabric. It might serve as a valuable template when cutting your new fabric.
Document the Process: As you remove pieces, it may be helpful to take pictures or make notes about how the fabric was attached to guide you when you reupholster the cushion.
Clean up the Cushion: Once the fabric is removed, clean up the cushion base, ensuring no residual staples or fabric fragments remain. Now your rocking chair cushion is ready for the new fabric.
Preparing the New Fabric
Measurement:
Begin by measuring your cushion’s length, width, and thickness to determine how much fabric you will need. Add an extra 1-2 inches to each measurement to account for the cushion’s curves, seams, and any margin of error.
If your cushion is unusually shaped, you might want to consider making a paper template of the cushion’s top, bottom, and sides to guide your measurements.
Marking:
Lay out your new fabric on a clean and flat surface, ensuring it’s completely smooth. Use the measurements you just took or your paper template to start marking out your fabric. Use a fabric marker for clear visibility, and make sure to mark on the wrong side of the fabric.
Cutting:
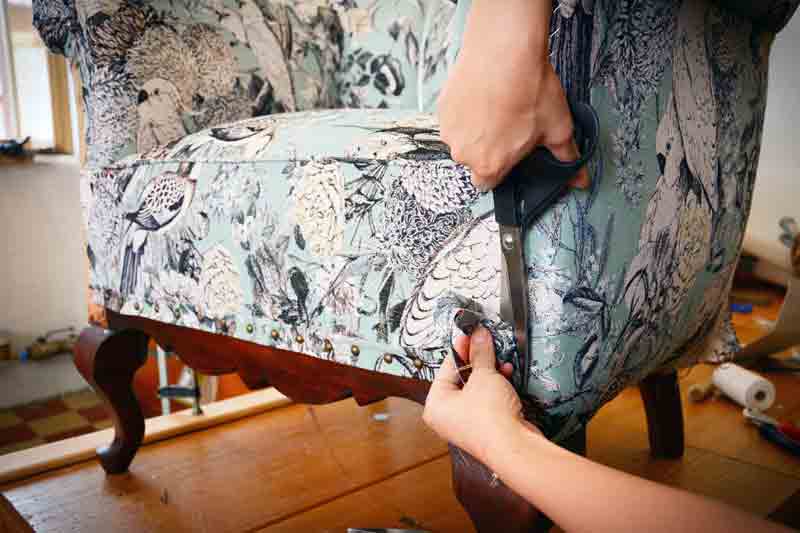
Once you have marked the measurements, it’s time to start cutting. Use fabric scissors for a clean cut and follow the lines carefully.
It’s recommended to cut slightly outside the marked lines (about 0.5 inch) to account for the seam allowance and any unexpected adjustments. If your cushion has a unique shape, be extra careful while cutting to ensure the new fabric aligns perfectly with the cushion.
Double Checking:
After cutting the fabric, hold it up against your cushion to double-check the fit. If the fabric appears too large or small, make the necessary adjustments by trimming or adding fabric as needed.
Cutting the Other Pieces:
If your cushion has sides, repeat the measurement, marking, and cutting process for each side piece.
Attaching the New Upholstery

Positioning the Fabric:
Begin by laying your new fabric face-down on a clean workspace. Place the cushion face-down on top of it. If your cushion has sides, ensure they are covered by the fabric adequately.
Stapling:
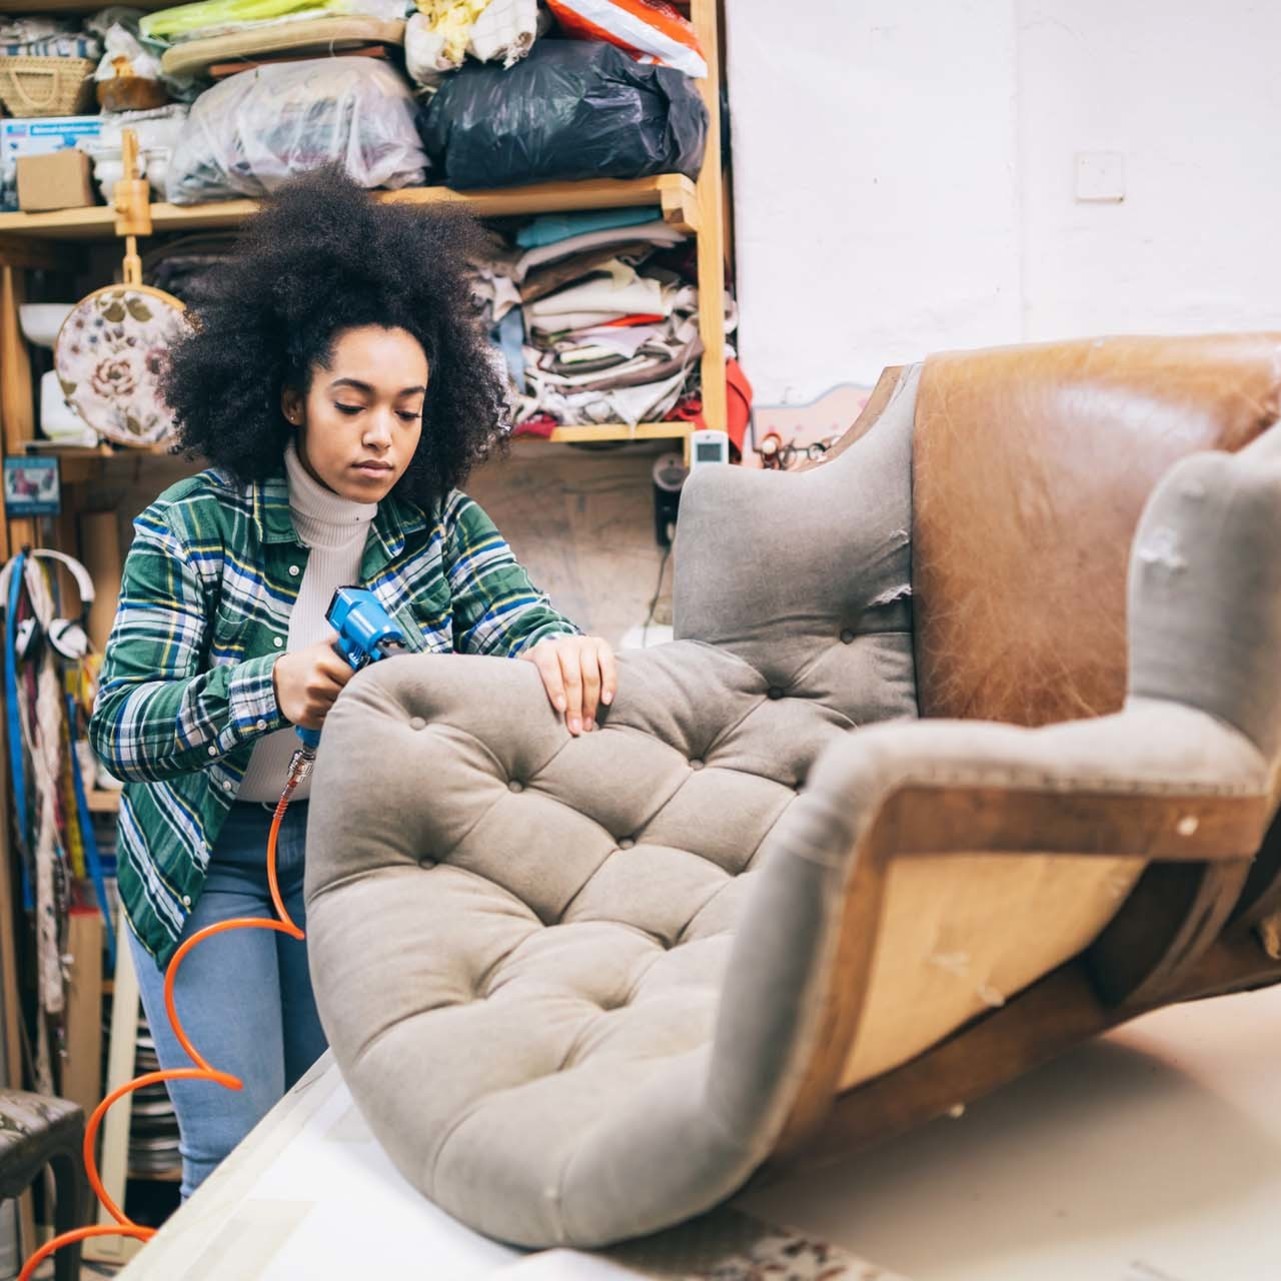
Take a staple gun loaded with the appropriate-sized staples. Start at the centre of one side of your cushion and staple the fabric to the cushion frame, ensuring it’s tight and smooth. Staple about 1 inch apart, leaving about 2 inches unstapled at each corner.
Working Your Way Around:
Progressively work your way out from the center toward the edges, making sure to pull the fabric tight as you go. Do the same for the opposite side of the cushion, again starting from the center and moving out towards the edges.
Repeat this process on the remaining sides, always ensuring the fabric stays smooth and tight.
Handling the Corners:
When you reach the corners, fold the fabric neatly like wrapping a present, and staple it securely. Depending on the shape of your cushion, you may need to make small folds or pleats to ensure the fabric lies flat and smooth.
Trimming Excess Fabric:
Once your fabric is securely stapled all around, use a pair of scissors to trim away any excess fabric, leaving about a half-inch border beyond the staples.
Final Touches:
If your cushion has buttons or other accents, reattach them now using a strong upholstery needle and thread. For cushions with side panels, use a curved upholstery needle to stitch the sides onto the top and bottom panels of the cushion.
Related Topics:
Finishing Touches
Now that your cushion is almost ready, it’s time to make the final adjustments and tidy up any loose ends for a perfect finish.
Smoothing Out:
Start by smoothing out the fabric around the staples and along the sides. Make sure there are no bunches or uneven areas. If necessary, you can remove and reposition staples to achieve a smoother finish.
Securing the Cushion:
If your rocking chair cushion is removable, secure it back onto the chair using the original hardware or ties. Make sure it’s snug and fits well into the chair frame.
Checking the Details:
Take a moment to check the details. Look at the corners, seams, and any buttons or accents. Make sure everything is secure, aligned, and aesthetically pleasing. If you have any loose threads, trim them carefully without pulling.
Cleaning Up:
Dispose of any leftover fabric scraps or staple casings. Make sure to keep your workspace clean and safe.
Conclusion
In conclusion, reupholstering a rocking chair cushion can transform a well-loved but worn-out piece of furniture into a refreshed, stylish addition to your home. This DIY project not only offers an economical solution to buying a new chair but also provides an opportunity to express your creativity and style.
With patience, attention to detail, and the right tools, you can breathe new life into your old rocking chair. The steps outlined in this guide will ensure you can tackle this task confidently and effectively.
So, the next time you look at your cozy rocking chair and feel it’s time for a revamp, don’t hesitate to embark on the rewarding journey of reupholstering.
FAQs
What type of fabric is suitable for reupholstering a rocking chair cushion?
When choosing fabric for reupholstering your rocking chair, prioritize durability and comfort. Upholstery fabric or heavy cotton are good options as they are sturdy and can withstand frequent use. You can also consider fabrics with a stain-resistant finish for easy cleaning.
Do I need special tools to reupholster a rocking chair cushion?
Basic tools required for reupholstering include a staple gun, scissors, a flathead screwdriver for removing old staples, and possibly a sewing machine if you’re making a new cover. Do remember that the tools you need might vary depending on the complexity of your chair and the design of the cushion.
