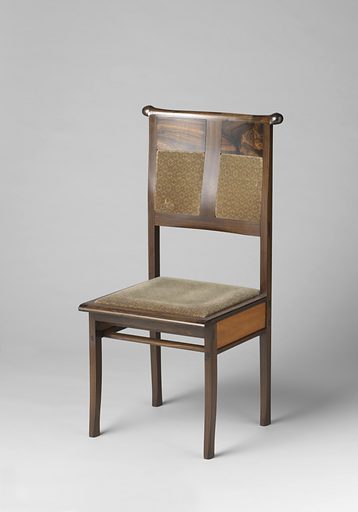
A split wood chair leg can ruin the overall look and stability of a chair. It can also be dangerous if not fixed properly, as it may break when weight is put on it. However, don’t worry – fixing a split wood chair leg is easier than you might think! With a few simple tools and techniques, you can repair your chair and have it looking as good as new in no time.
A split wood chair leg occurs when the wood grain has separated, leaving a crack or gap in the leg. This can happen due to various reasons, such as aging of the wood, improper use of the chair, or exposure to extreme temperatures or moisture.
Importance of fixing it promptly
Fixing a split wood chair leg is not only important for the aesthetics of the furniture, but it also ensures its safety and longevity. A split chair leg can worsen over time, making it more difficult to repair and potentially causing accidents. It’s best to address the issue as soon as you notice it, to prevent any further damage.
Tools and Materials Needed
- Clamps (at least two)
- Wood glue
- Putty knife or scraper
- Sandpaper
- Paint or wood stain (optional)
- Safety equipment (work gloves, safety glasses, etc.)
Preparations
Preparation of the Work Area
Before you begin, it’s crucial to prepare your workspace to ensure a smooth, efficient, and safe repair process. First, clear an area that provides enough space for you to work comfortably around the chair. This area should be well-lit and well-ventilated, especially if you plan to use paint or wood stain.
Protect the floor and any nearby furniture with a drop cloth or old newspapers to prevent any glue or paint spills. Gather all your tools and materials beforehand and keep them within easy reach for convenience.
Remember to put on your safety equipment – work gloves to protect your hands and safety glasses to shield your eyes from possible wood splinters or glue splatters.
One last tip: make sure the chair is stable before you start working on it. You may need to prop it up or secure it to prevent it from wobbling or tipping over during the repair process.
Safety Precautions
Safety should always be your top priority when conducting any kind of repair work. Here are some critical safety measures you should follow while fixing a split wood chair leg:
Wear Protective Gear: Always wear safety glasses to shield your eyes from potential wood splinters or glue splatters. Durable work gloves can prevent cuts and scrapes, while a dust mask will protect your lungs from dust particles when sanding the wood.
Ventilation is Key: If you’re using strong adhesives or solvents like wood glue or paint, make sure you’re working in a well-ventilated space. These substances can emit fumes that are harmful if inhaled in an enclosed space.
Fire Safety: Avoid using open flames near any flammable materials such as wood shavings, glue, or wood stain.
First Aid Kit: Keep a first-aid kit nearby, in case of any minor injuries during the process.
Tool Safety: Always handle tools with care. Be mindful of sharp tools like knives and scrapers to prevent any injuries.
Stability: Ensure the chair is stable before you start working on it. You may need to prop it up or secure it to prevent it from wobbling or tipping over during the repair process.
Remember, safety first!
Steps to Fix the Split Wood Chair Leg
Secure the Chair: Start by laying the chair on its side on your prepared work area. Position it so that the split leg is easily accessible.
Apply Wood Glue: Using your putty knife, apply a generous amount of wood glue inside the split. Make sure that the glue is spread evenly throughout the crack.
Clamp the Leg: After applying the glue, align the split parts as closely to their original position as possible. Use your clamps to secure the leg. The clamps should apply pressure evenly along the split to help the glue bind the wood together. Make sure not to tighten the clamps too much as it may cause further split.
Allow to Dry: Leave the chair in the same position and let the glue dry. It’s recommended to wait at least 24 hours to ensure the glue has fully hardened.
Sand the Leg: Once the glue has dried, remove the clamps. Use sandpaper to smooth out any excess glue and to blend the repair with the rest of the leg.
Finish the Leg: If desired, you can finish the repair by staining or painting the leg to match the rest of the chair. Make sure to allow the paint or stain to fully dry before using the chair again.
Related Topics:
Conclusion
Fixing a split wood chair leg may seem like a daunting task, but with the right tools and patience, you can easily repair it yourself.
Not only will you save money by avoiding professional repairs, but you’ll also feel accomplished knowing you were able to fix it on your own. Plus, you’ll have a sturdy and stable chair that is safe to use once again. So don’t be afraid to tackle DIY repairs and give your furniture a new lease on life!
Remember, with proper care and maintenance, you can prevent future splits from occurring in your wood furniture. Regularly checking for cracks and addressing them promptly can help prolong the lifespan of your beloved pieces. Happy repairing!
