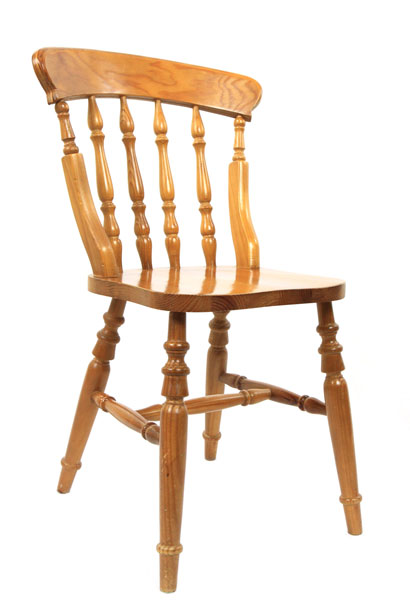
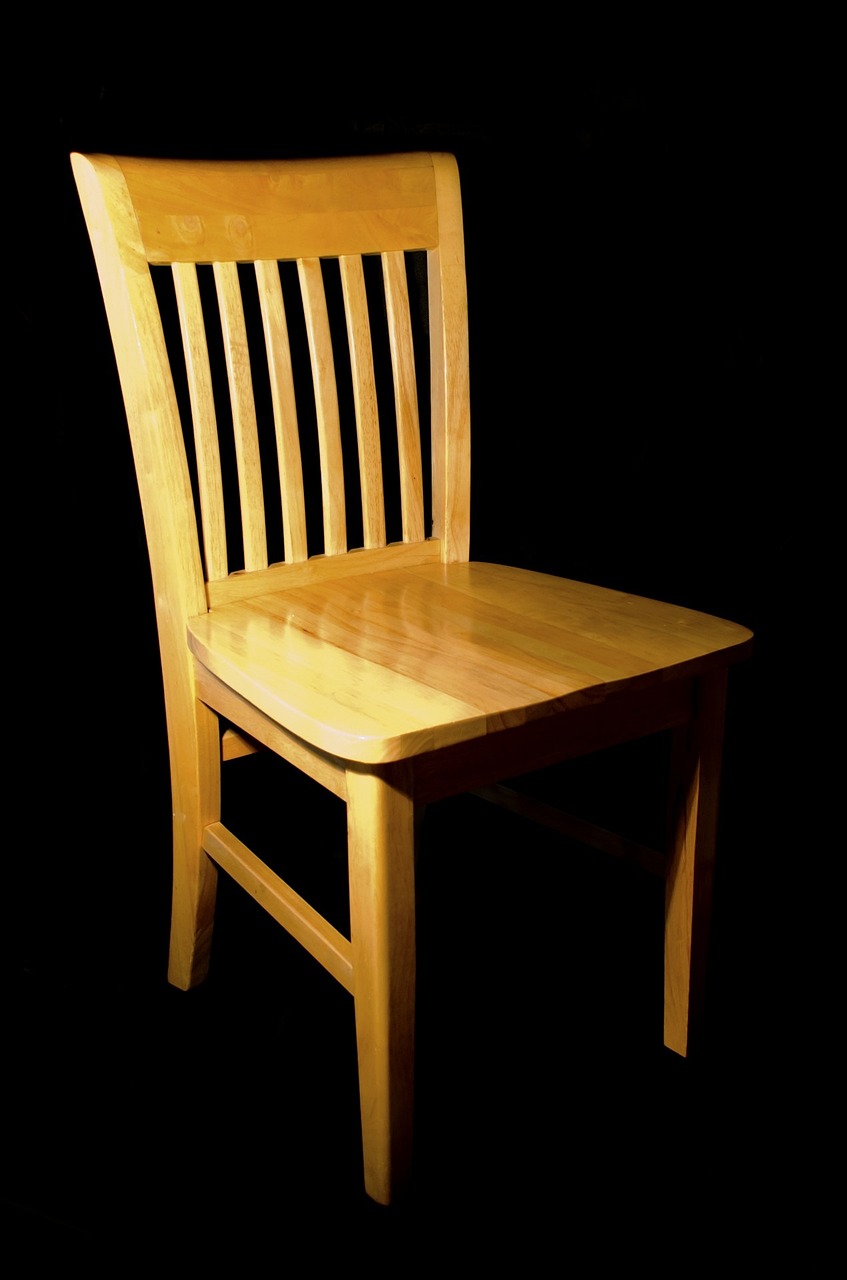
If you’re a homeowner, chances are you have at least one piece of wooden furniture in your home. Wooden furniture can add a touch of warmth and elegance to any room, but over time, it’s not uncommon for it to suffer a bit of wear and tear.
In this blog post, we’ll be focusing on wooden chairs, and specifically, how to repair a wooden chair back. Whether it’s a family heirloom that’s seen better days or a thrift store find that needs a little TLC, this guide will walk you through the steps of repairing a wooden chair back, even if you’re a beginner.
Step 1: Assess the Damage
Before attempting to repair the chair back, it’s important to assess the damage. Take a close look at the chair back and determine the extent of the damage. Common issues include cracks, breaks, and missing pieces. If the damage is minor, you may be able to fix it with some wood glue and clamps.
If the damage is more severe, you may need to replace the broken or missing pieces entirely.
Step 2: Gather Your Supplies
Once you’ve assessed the damage, it’s time to gather your supplies. Here’s what you’ll need:
- Wood glue
- Clamps
- Wood filler
- Wood stain or paint
- Sandpaper
- A putty knife
- A saw or chisel (if you need to replace any broken or missing pieces)
Step 3: Fix Small Cracks and Breaks
If the damage to the chair back is minor, you may be able to fix it with wood glue and clamps. Apply a small amount of wood glue to the crack or break, then use the clamps to hold the pieces in place while the glue dries. Be sure to wipe away any excess glue with a damp cloth.
Step 4: Replace Broken or Missing Pieces
If the damage to the chair back is more severe, you may need to replace broken or missing pieces. Start by removing any damaged pieces with a saw or chisel. If you’re not comfortable using these tools, consider taking the chair to a professional woodworker.
Once you’ve removed the damaged pieces, measure the area and cut a new piece of wood to fit. Glue the new piece in place and use clamps to hold it firmly until the glue dries.
Step 5: Fill in Any Gaps
After the glue has dried, you may notice gaps where the wood has been replaced or repaired. Use wood filler to fill in any gaps or holes. Apply the filler with a putty knife, then sand it smooth once it’s dry.
Step 6: Stain or Paint the Chair Back

Once the wood filler is dry and sanded smooth, it’s time to finish the chair back. You can stain the wood to match the rest of the chair or paint it for a different look. Consult your local hardware store for advice on selecting the right stain or paint for your project.
Related Topic: How To Refinish A Wooden Rocking Chair? Safely!
Fixing a Broken Chair Support
A broken chair support can be frustrating and uncomfortable to deal with. Luckily, fixing it is straightforward and can save you from having to throw out an otherwise perfectly good chair.
First, assess the damage and determine whether the support can be fixed with a quick repair or if it needs to be fully replaced. If it’s a simple fix, such as a screw that has come loose, use a screwdriver to tighten it back in place. If the support is cracked or broken, you may need to purchase a replacement part.
You can either go through the chair’s manufacturer or a specialty hardware store. Once you have the replacement part, use a wrench to remove the old support and attach the new one.
It’s important to make sure the replacement support matches the original in size and material for stability and safety.
Best Glue For Chair Joints
When it comes time to fix or reinforce these joints, it’s important to choose the best glue for the job. While there are many options out there, some are simply better than others. Look for a glue that dries quickly and has a stronghold, such as polyurethane or epoxy glue.
These adhesives are designed to bond with wood, creating a durable and long-lasting hold. It’s also important to choose a glue that can be sanded down to create a seamless finish, as visible glue lines can detract from the overall look of the piece.
Whether you’re fixing up an old family heirloom or simply mending a beloved chair, selecting the right glue can make all the difference in ensuring that your furniture lasts for years to come.
Related Topic: How To Repair Wooden Chair Joints? Safely!
Conclusion
Repairing a wooden chair back may seem like a daunting task, but with a little patience and some basic tools, it’s a project that anyone can tackle.
Remember to assess the damage, gather your supplies, fix small cracks and breaks with wood glue and clamps, replace broken or missing pieces if necessary, fill in any gaps, and stain or paint the chair back to finish the job.
Whether you’re repairing a family heirloom or restoring a thrift store find, your wooden chair back will look good as new in no time.
FAQs
How to repair dining room chair back?
Are you struggling with a broken dining room chair back? Don’t worry, you don’t need to throw it out just yet. With a few tools and some patience, you can repair it yourself. First, assess the damage and determine what supplies you need.
Then, carefully remove the broken pieces and make any necessary repairs to the frame. Finally, reattach the back and reinforce it for added stability. Follow these steps and your dining room chair will be like new in no time.
How to fix chairs with loose legs?
If your favorite chair has become wobbly and unstable, then it’s time to fix its loose legs. To begin with, inspect the area where the leg connects to the chair, ensuring the screws are properly tightened. If this doesn’t solve the problem, remove the screws and check for any damage or debris.
Use wood glue to reattach any loose joints and clamp the area until the glue dries completely. For added reinforcement, you can also add corner braces to the legs. Following these simple steps will ensure a more stable and durable chair.
Related Topic: How To Fix A Broken Wooden Chair Spindle?

2 thoughts on “How To Repair A Wooden Chair Back?”