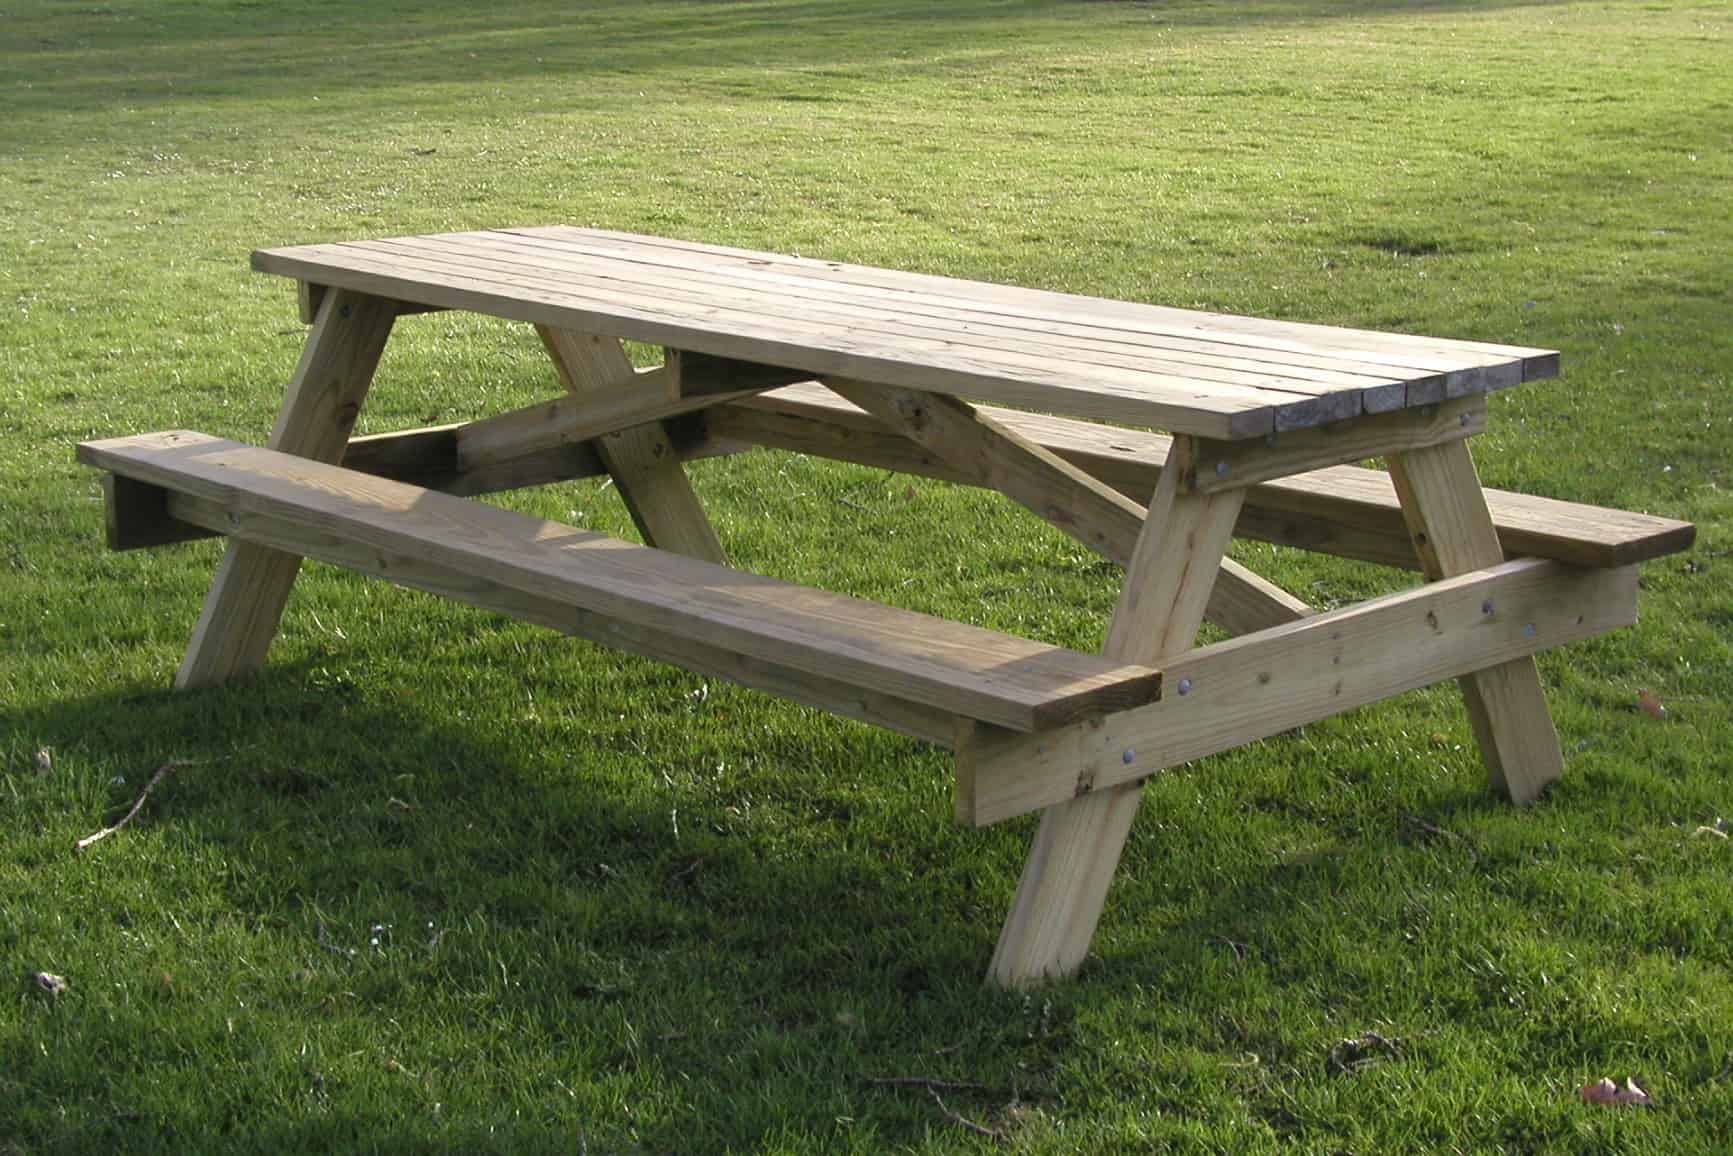
There’s nothing quite like gathering friends and family for a backyard barbecue, and what better way to do so than with a wooden picnic table? As a homeowner, building a wooden picnic table is a great weekend project that can add value to your home and create a comfortable outdoor gathering space.
In this comprehensive guide, we’ll walk you through the step-by-step process of building a wooden picnic table that will last for years to come.
Step 1: Gather Materials
First and foremost, you’ll need to gather all the necessary materials for your wooden picnic table. The materials you’ll need include 8-foot pressure-treated 2-by-4s, 8-foot pressure-treated 2-by-6s, weather-resistant screws, wood glue, sandpaper, and exterior grade paint or stain.
A circular saw, a measuring tape, a level, a drill with bits, and clamps are also essential tools you’ll need for the job.
Step 2: Cut the Lumber
Take measurements of the tabletop, seat, and legs of the picnic table. Once you have your measurements, cut the lumber to the correct lengths accordingly. Remember to always measure twice and cut once to ensure accuracy.
Types Of Lumber
1. Pine
Pine is a softwood that is commonly used in the construction of picnic tables. Pine is an affordable lumber option and is easy to work with. However, pine is not as durable as some of the other options on this list and may not be the best choice if you are looking for a picnic table that will last for many years.
2. Cedar
Cedar is another softwood that is often used in the construction of picnic tables. Cedar is more durable than pine and has a natural resistance to rot and insect damage. Cedar is also a beautiful lumber option, with a rich reddish-brown color that will complement any outdoor space.
3. Redwood
Redwood is a hardwood that is typically used in the construction of high-end furniture and picnic tables. Redwood is an extremely durable lumber option that will last for many years with proper care.
Redwood is also a beautiful lumber option, with a deep red color that will add elegance to any outdoor space. However, redwood can be one of the more expensive lumber options available.
4. Teak
Teak is a hardwood that originates from Southeast Asia and is often used in the construction of outdoor furniture and decks. Teak is an extremely durable lumber option that is resistant to rot, insect damage, and extreme weather conditions.
Teak is also a beautiful lumber option, with a rich golden-brown color that will complement any outdoor space. However, teak can be one of the more expensive lumber options available.
5. Mahogany
Mahogany is a hardwood that originates from Africa and South America and is often used in the construction of high-end furniture and cabinetry. Mahogany is an extremely durable lumber option that will last for many years with proper care.
Mahogany is also a beautiful lumber option, with a deep reddish-brown color that will add elegance to any outdoor space. However, mahogany can be one of the more expensive lumber options available
Step 3: Create the Tabletop and Seats
Using the pressure-treated 2-by-6s, make the table and seats. Cut four 2-by-6 boards for the table and cut eight 2-by-6 boards for the benches. Using the circular saw, cut the ends of each board at a 45-degree angle to create a smooth and even appearance when the boards are placed next to each other.
Lay the boards top-side down and arrange them in the order you want them for your table and bench tops. Use clamps to hold them together and then screw in the middle board.
Types of Seats
1. Dining Chairs
Dining chairs are the most common type of wooden table seat. They are designed to be comfortable for long periods of time, and they typically have a backrest and armrest. Dining chairs can be made from a variety of materials, but they are most commonly made from wood.
2. Bar Stools
Bar stools are shorter than dining chairs and do not have a backrest or armrest. They are designed to be used at a bar or counter, and they are usually made from wood or metal.
3. Bench Seats
Bench seats are long seats that can accommodate multiple people. They are often used in dining rooms or kitchen nooks, and they can be made from a variety of materials, including wood, metal, or upholstered fabric.
4. Outdoor Chairs
Outdoor chairs are designed to be used outdoors, and they are usually made from weather-resistant materials such as aluminum or plastic. Outdoor chairs can be found in a variety of styles, including dining chairs, lounge chairs, and rocking chairs.
5. Folding Chairs
Folding chairs are designed to be easily stored when not in use. They are often made from lightweight materials such as aluminum or plastic, and they can be found in a variety of styles, including dining chairs, bar stools, and bench seats.
Step 4: Create the Legs
Cut four 2-by-4s at the desired length of your table. Cut another four 2-by-4s for the two benches. Use wood glue and screws to attach the legs to the tabletop and then attach the benches to the legs.
Step 5: Sand and Paint or Stain the Picnic Table
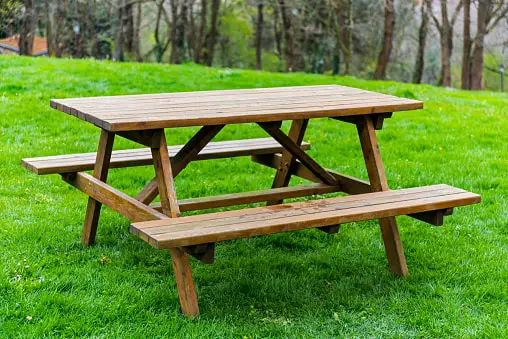
Credit: Getty Images/iStockphoto
After building the table, remember to sand it down to create a smooth surface. Then, apply the paint or stain that is weather-resistant, so your table can withstand different weather conditions.
Related Topics:
Conclusion
There you have it; building a wooden picnic table is an excellent weekend project to create a comfortable outdoor space to enjoy with family and friends. Following these simple steps, you can build a sturdy and durable picnic table that can make your outdoor meal experience enjoyable.
So what are you waiting for? Gather your materials, grab your tools, and get started on your own DIY wooden picnic table today!
FAQs
How much wood do you need to build a picnic table?
When it comes to building a picnic table, knowing how much wood you need is crucial to getting the job done right. The amount of wood required will depend on the type of table you plan to build and its dimensions. A standard picnic table is typically around six feet in length and requires several 2x4s for the frame and seats, along with a few 2x6s for the tabletop.
It’s always a good idea to purchase extra lumber, just in case of mistakes or unforeseen circumstances. By having a clear understanding of the necessary materials, you can ensure that your finished product is both sturdy and functional.
How many 2×6 do I need for a picnic table?
Generally speaking, a typical 6-foot picnic table will require six 2×6 boards for the tabletop and two more for the seats. However, depending on the size of your table, you may need more or less. It’s always best to measure and plan ahead to ensure you have what you need to create a sturdy and functional picnic spot.
Related Topic: How To Repair A Wooden Chair Back?
How do you waterproof a wooden picnic table?
If you’re looking to prolong the life of your wooden picnic table, waterproofing is a must. There are a few options for waterproofing your table, including using a sealant or applying a water-resistant coating. Before you do either, make sure to properly clean and prep the surface for the best results.
Once you’ve applied your chosen method, remember to reapply every few years to maintain the protection. Keep your picnic table in top condition by taking the necessary steps to waterproof it.
2 thoughts on “How To Build Wooden Picnic Table? DIY”