Creating your own slipcover for a wing chair is easier than you might think. With the right materials and a little bit of patience, you can make an attractive cover that will fit your furniture snugly. Here’s what you need to know to get started.
Materials Needed
Before diving into the project, it’s important to have all the necessary items on hand. You will need:
• Fabric (upholstery-grade preferred) with enough yardage to cover the entire chair
• Cotton batting or foam padding, if desired
• Thread in the matching color of the fabric
• Measuring tape and/or yardstick
• Sewing machine and pins
• Scissors
• Iron and ironing board (optional)
Preparing the Chair and Fabric
The first step in making a slipcover for your wing chair is to prepare it and the fabric you’ll be using. Start by removing any existing upholstery from your chair, as this will make measuring easier.
Make sure to note any unique features of the furniture, such as buttons, pleats, or tufted details that you may want to include on the cover. Once you’ve cleared away all traces of old material, measure your chair from bottom to top, side to side, and along each armrest for accuracy.
Next, measure the fabric needed for your cover and purchase enough to accommodate all the measurements of your chair. Fabric choice is a personal preference and can vary depending on the style you’d like. Keep in mind that slipcovers often need to be washed, so opt for washable fabrics when possible.
Additionally, consider choosing two different types of fabric: one heavier material with a pattern or texture for the main body of the cover and a lighter cotton or muslin for reinforcing seams.
Cutting Your Pattern Pieces
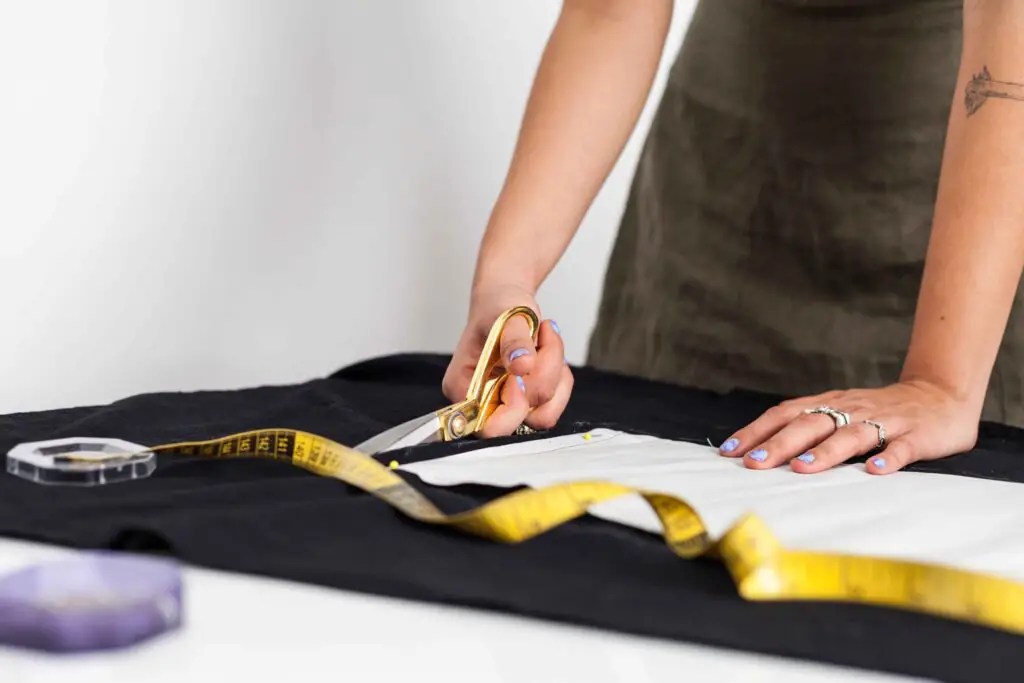
Once you’ve gathered all the necessary supplies and materials, it’s time to start cutting out your pattern pieces. The number of pieces you’ll need will depend on how complicated your wing chair’s design is and how many separate pieces it has.
Generally, you will need at least one large piece for the seat cushion, a back panel, two arm panels, and two side panels. For more complex chairs, you may also want to include additional smaller pattern pieces such as welts or piping.
Assemble The Pieces
Now that all your pattern pieces are cut out of the fabric of your choice, it’s time to assemble them into a slipcover. Start by pinning each piece together with the wrong sides facing outward in order to create a basic outline of your project.
You can then use either hand-sewing or machine-stitching to sew all the pieces together. Make sure to leave an opening at one of the seams so you can turn the slipcover right-side out.
Attach The Back Panel
Once your pieces are all sewn together, you’ll need to attach the back panel. Use pins or basting stitches to hold it in place before machine stitching it into the edges of your slipcover.
Make sure to check for any puckers, lumps, or other imperfections that may be present in the fabric as you sew. Once finished, you should have a basic cover with an open seam along one side.
Add Welts Or Piping
If desired, welts or piping can now be added around any edges of your slipcover where two pieces of fabric meet. This will give it a more polished, professional-looking finish.
To do this, measure the length of each edge and cut your pieces of welt or piping to size. Then, use pins or basting stitches to hold them in place before machine stitching.
Closing The Final Seam
Now that you’ve added welts or piping as desired and checked for any imperfections in the fabric, you can move on to closing up the final seam.
With right sides facing inwards, pin or tack the two edges together at one end and then stitch along the entire side until you reach the other end. Make sure to backstitch securely when you reach both ends so that the seam is nice and secure.
Attaching The Arm Covers
When the slip cover is complete, you’ll need to attach arm covers to give it a finished look. To do this, start by pinning or tacking one end of each arm cover in place with the right sides facing inwards. Then, sew along the length of the arm cover until you reach the other end and backstitch at both ends.
Adding Closures
One way of securing your slipcover onto your wing chair is by adding closures like buttons or snap fasteners. If you opt for buttons, match up the buttonholes and corresponding buttons on each side before stitching them securely into place.
Alternatively, if using snap fasteners, attach one half of the fastener onto the slipcover, and use a hammer to insert and secure the other half of each snap into place.
Straightening Seams and Corners
Before you can call your project complete, make sure to adjust any uneven seams or corners that may have shifted during the sewing process.
This is especially important if you made your own pattern since it’s easy for details to get off track when dealing with complex shapes like those found on a wing chair. To straighten out seams or corners, simply unpick them with a seam ripper and re-stitch as necessary until they’re perfectly smooth.
Finishing Touches
Finally, add finishing touches like decorative trims, buttons, or lace to give your slipcover a unique look. You can also choose to add quilting or other types of embellishments for an even more luxurious finished piece. This step is completely optional, but it’s a great way to customize your slipcover and make it truly one-of-a-kind.
Related Topics:
Conclusion
Making a slipcover for a wing chair may seem intimidating, but if you break the project down into manageable steps and have patience with yourself during the process, you’ll be left with a beautiful custom cover that will add comfort and style to any room in your home.
With just some basic tools and materials at hand, you can create an eye-catching slipcover that will last for years.
Don’t forget to have fun with it and truly make it your own! Choose colors, fabrics, and embellishments that speak to your individual style, and you’ll be well on your way to making a slipcover that you can enjoy for many years. Good luck!
FAQs
Q1: What type of fabric should I use for the project?
The best fabrics to use are those that are lightweight and have a good drape. Look for fabrics such as cotton, linen, or twill. Stay away from anything too heavy as it won’t lay properly on the chair.
Q2: How much fabric do I need to buy?
It’s always best to err on the side of caution when purchasing fabric for a project like this. Depending on the size of your wing chair, you may need anywhere from 6-10 yards of fabric in order to create your slipcover. It’s also important to factor in extra length if you plan to use any decorative trim on your piece.
Q3: How can I ensure the slip cover fits properly?
Before you start cutting and sewing, it’s important to take accurate measurements of your chair. Measure the length of each armrest, the width of the seat cushion, and the height from floor to top of the back cushion.
Once you have these measurements, you can begin constructing a pattern for your cover using thin muslin fabric or newspaper. The pattern should be cut slightly larger than your chair so that it has some room for adjustments once it is installed on the furniture.
1 thought on “How To Make Slipcover For Wing Chair? DIY Guide”